Processional banners have long been a part of Christian processions, dating back to the early days of our faith. Banners and flags were a sign of heraldry (who you were), nationality, and victory. In the Christian tradition, banners were used for processions of faith, not for war or victory. Parishes, guilds or other Catholic organizations, and even families would make their own banners using symbolism of the faith.
Though there are many ways one could go about making processional banners, this post will cover the steps to making a hand-painted banner for home or church use. These could be used for home Rogation Day processions or while participating in your parish Corpus Christi procession. Embroidery and/or applique would be another option for those who are comfortable with such skills, but painting is perhaps the more expedient option, particularly for those who do not feel especially crafty. (Applique may be an option if you are able to find suitable iron-on appliques and do not have much in the way of sewing skills.)
For this project, you will need 1 yard of cotton fabric, preferably white, pencil, acrylic or fabric paints, paint brushes (I like these), painters or masking tape, thread, sewing machine, and trim. (Trim and sewing machine are optional. If you are very uncomfortable with sewing or don’t have a machine, you can purchase fusible seam or hem tape.) If you would like to keep the design relatively small but the banner of a larger size, you could use another fabric to create a boarder around the central design. If you would like to put wording on your banner, you may want stencils or at least a ruler to keep your lettering relatively uniform in size and shape.
In this post, we will be looking specifically at making a banner from cotton, though this could be done with something like a satin, depending on your skill and comfort level. Many processional banners have three decorative sections hanging from the bottom, others are pointed at the bottom, and others are curved or are simple rectangles. For this post, we will be doing a basic, rectangular design.
This project could be readily adapted for many various changes. If you have questions about how you would proceed with a particular step, feel free to reach out with any questions, and I will do my best to answer them.
Step 1: Determine the size of the banner.
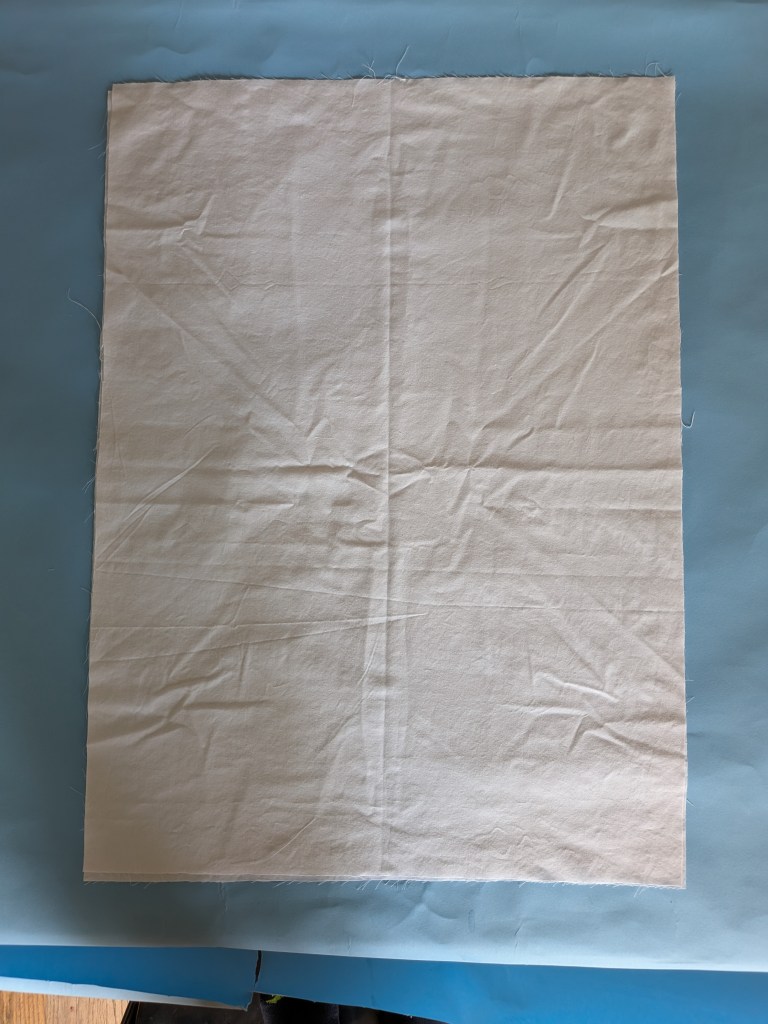
If you would like to have the seams turned inward, you will need to account for that in the cutting process by giving yourself seam allowances. (A good seam allowance for these banners is 1/2″. A manageable sized banner is roughly 2’x3′ and up to 3’x4′. With one yard of white cotton, you could make a double-sided banner that is roughly 22.5″ x 36″, depending on the width of the fabric. (Some fabrics are up to 108″ wide, but typical is somewhere between 44″-58″. I recommend looking for fabric that is 50+ inches wide. Fabric is typically cut by yardage increments- 1/4, 1/2, 3/4, 1 yd., etc.) Muslin would work for this project, though your “canvas” would be a cream/off-white color, rather than white. If you wanted to make multiple banners, I recommend buying plain white, all cotton flat bedsheets. Whatever fabric you use, I recommend pre-washing the fabric, and ironing it well. Washing removes any sizing or other chemicals that may interfere with paint adherence.
Step 2: Determine the design.
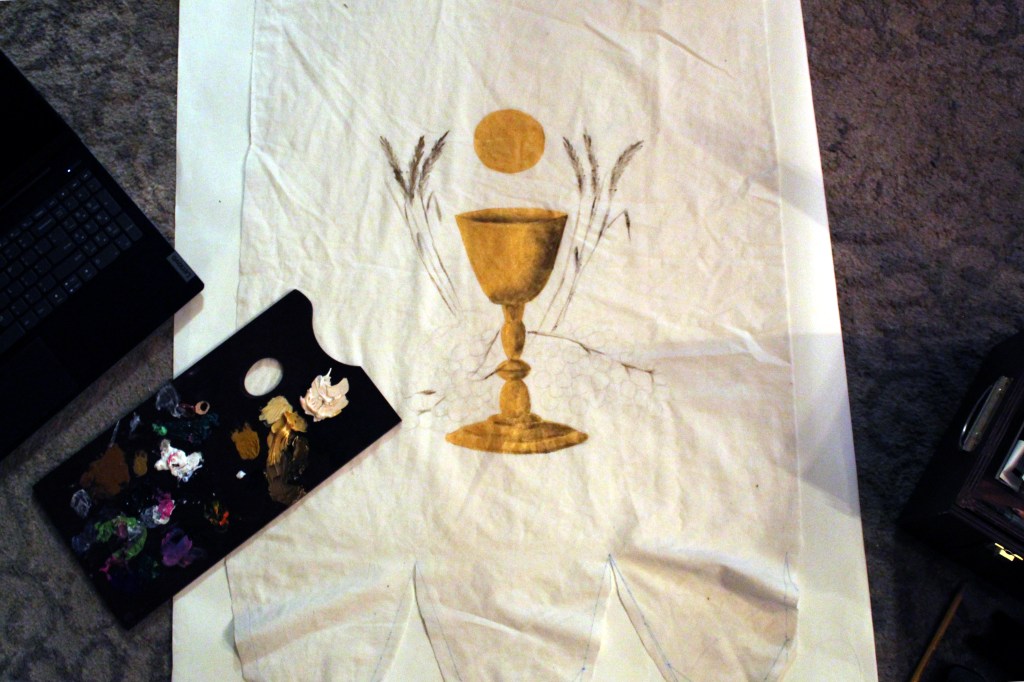
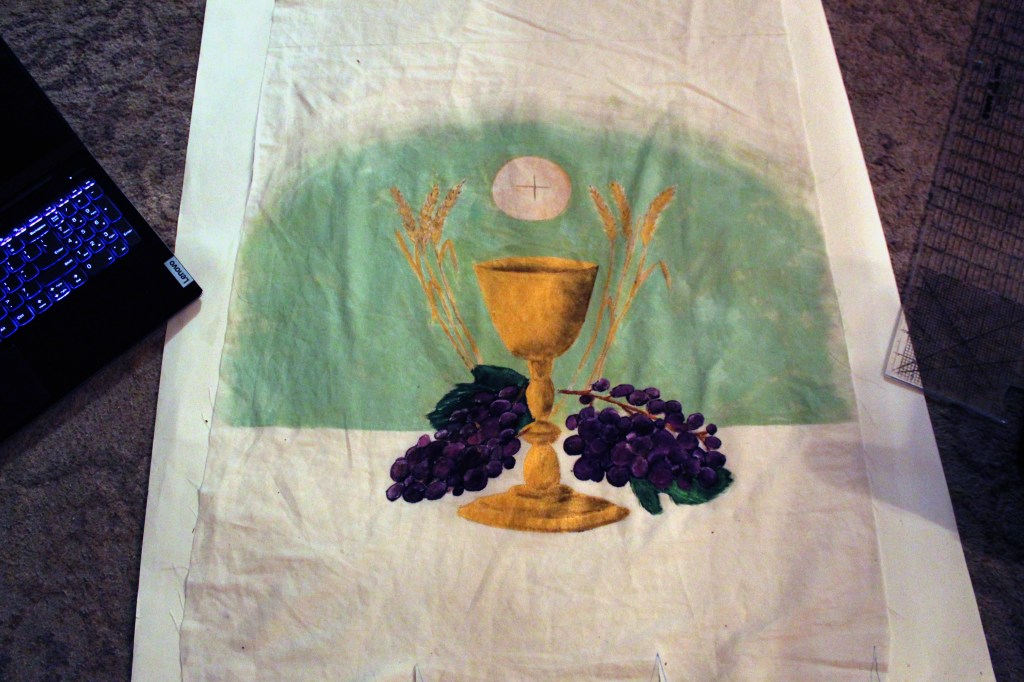
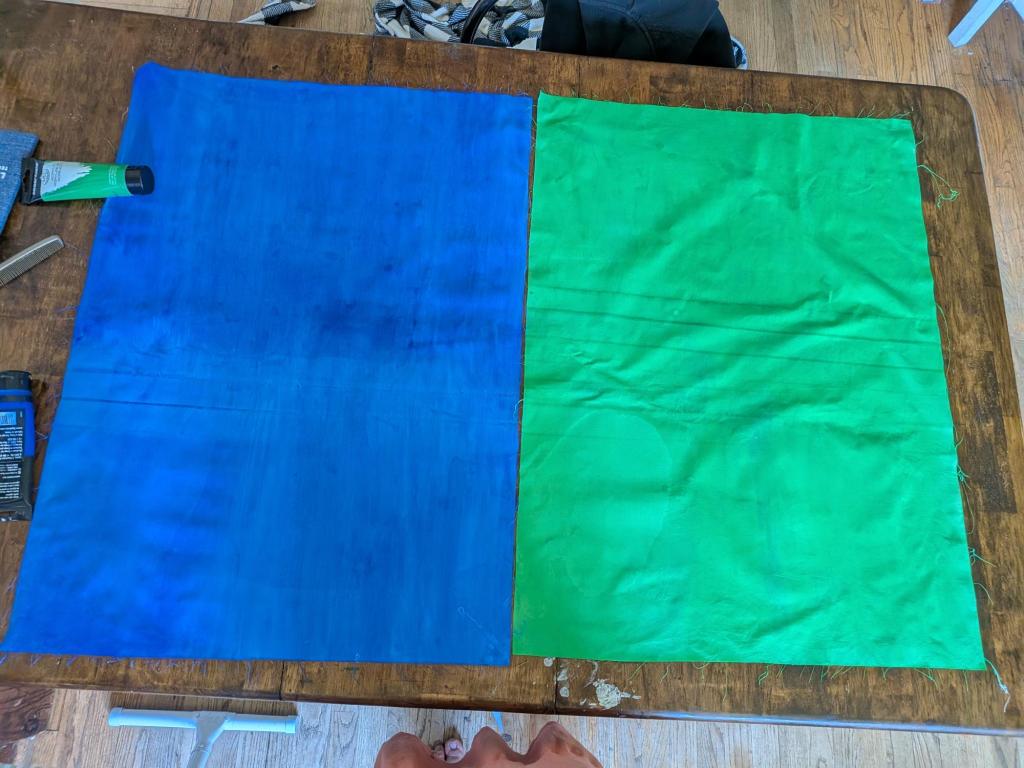
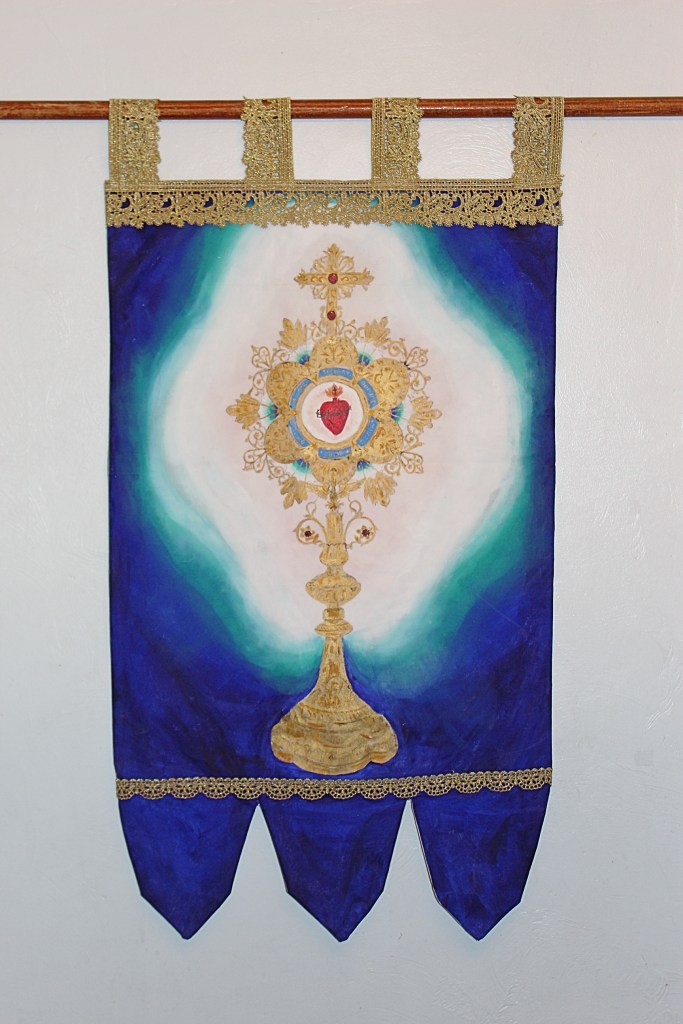
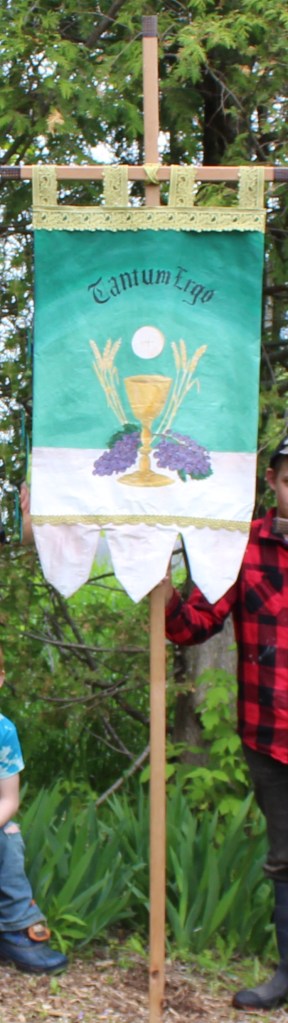
Processional banners for faith-related events are typically fille with symbols of the faith that are important to the family, group, or parish. When our parish (and our sister parish) took up the tradition of Corpus Christi processions once again, we no longer had useable processional banners. Being on a time-crunch, and working solo, I decided to make some for our parishes. For the design, I used images that are prominent in each parish that reflect the parishes’ patronage. The second side had the names of the parishes painted on them. For home use, I decided to use the chalice, Host, wheat, and grapes with the words “Tantum Ergo” which are typically sung during adoration. The grapes and wheat are reflective of the agricultural work we do on our homestead. On the other side, I used a picture of my parish’s monstrance, and in the luna (the window), I painted a host with the Sacred Heart on it to reflect a powerful experience I had during the 10th National Eucharistic Congress in 2024. The background color mimics some coloring in a portion of the monstrance, but the blue color is one I have often seen during prayer that makes me think of Mary.
A traditional banner used during Rogation processions in the Middle Ages was one with a lion on it, symbolizing Christ and his triumph over death, and as the Lion of Judah. This design in particular would be easy enough for a novice to do, because the lion was often that of a silhouette, like a heraldic lion.
For a more complicated design, depending on your comfort level, a smaller image may be easier to paint than a large one, for the sake of proportions, but then again, details can be easier to paint when they are large, rather than small. People are especially complicated to paint, as proportions and shading can be quite difficult to do well. Determine the overall layout. Will there be words? If so, where? Will you have a design on both sides of the banner? For painting a banner, I recommend at least having a blank piece of fabric for a backing, as the paint will bleed through the fabric. The design should not go all of the way to the edges. A background color or simple design may go to the edges, but if any significant part of your image goes to the edges, you may end up losing part of your design.
Step 3: Cut the fabric.
With size and designed determined, cut the fabric to the desired size, including seam allowances. I recommend cutting the front and back out together so that the pieces fit together well. They may need to be trimmed down a bit after painting, as the painting process can stretch the fabric a bit. Cutting the sides out just slightly larger than the desired end size will allow you to trim things down.
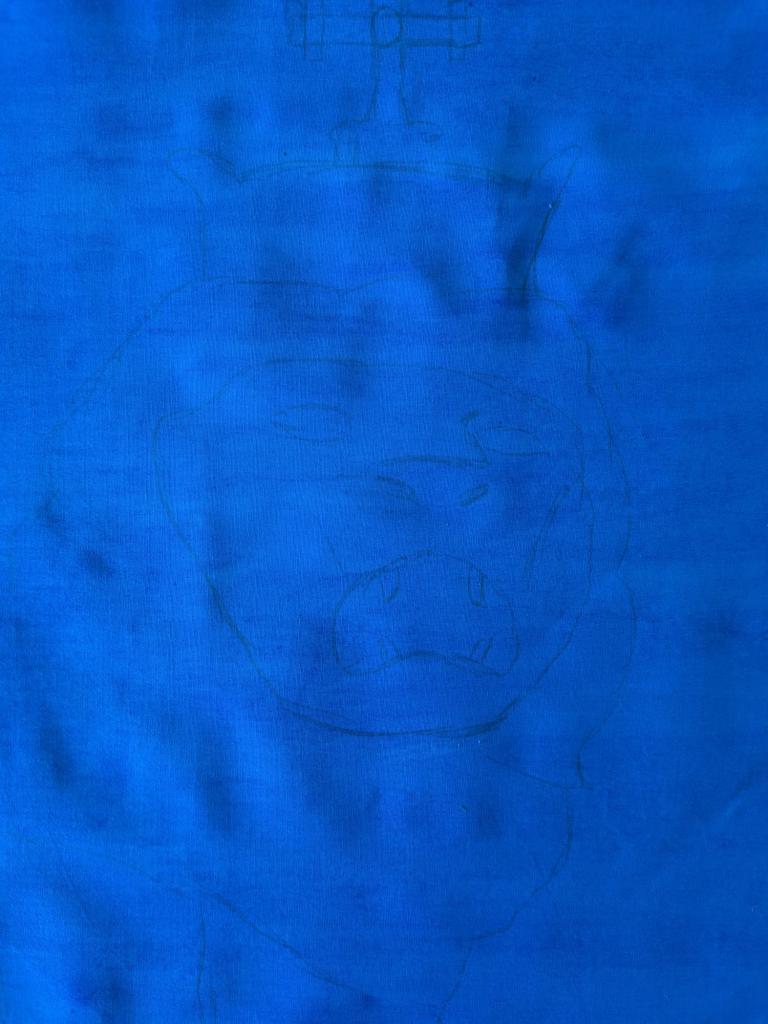
Step 4: Sketch out the design.
Keep in mind that fabric can and will stretch and pull. It is a good idea to tape the corners of your banner down so that the fabric doesn’t shift too much as you draw out the design. You want to lightly sketch the design. A regular #2 pencil works just fine. If you are not comfortable with free-hand, you can either trace your design, using print-outs, stencils, or a projected image, or you can create a faint grid, and sketch your design within it. Remember to leave space for the seam allowance. I recommend finding the center of the banner, and drawing the design based on that point. If you sketch lightly enough, you can erase if needed.
Step 5: Paint!
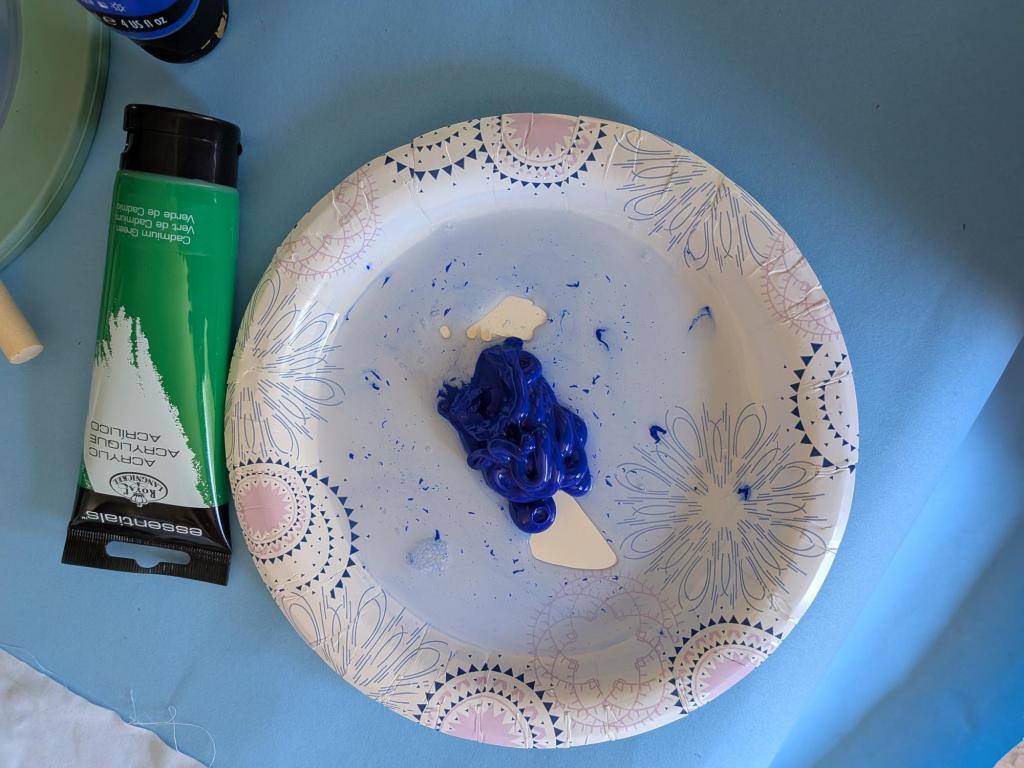
Prep your work area. A plastic tablecloth or a large sheet of paper underneath the fabric will keep paint bleed-through from damaging your work surface. Keep a jar of water and some paper towel or an old rag handy for washing out brushes and removing paint before switching colors. A little bit of water on your brush can help the paint to spread better, but too much can cause it to bleed. A water-color effect can be achieved by watering down paints, if you so desire. The colors won’t be as vivid, but the paint will adhere very well to the fabric. For a project like this, I typically work from light to dark, as it can be difficult to build up the lighter colors on top of dark if you need to correct errors. Brush size and type depends on the work you are doing. Use angled brushes for clean lines on larger sections, a large brush to fill big areas, smaller brushes for smaller areas, and finer brushes for detail work and outlines, if needed.
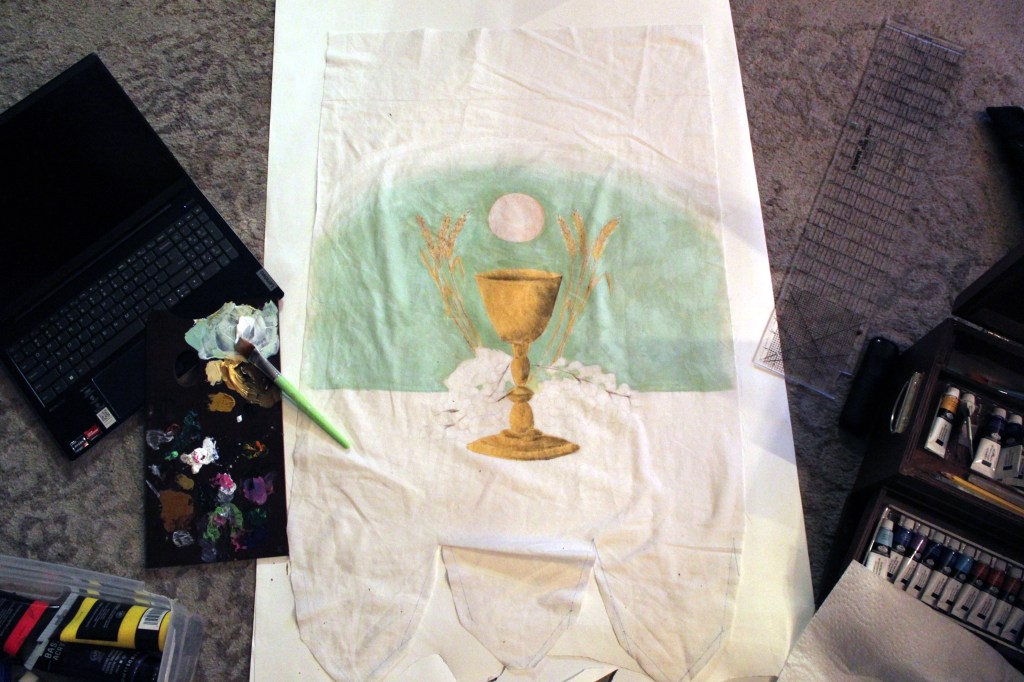
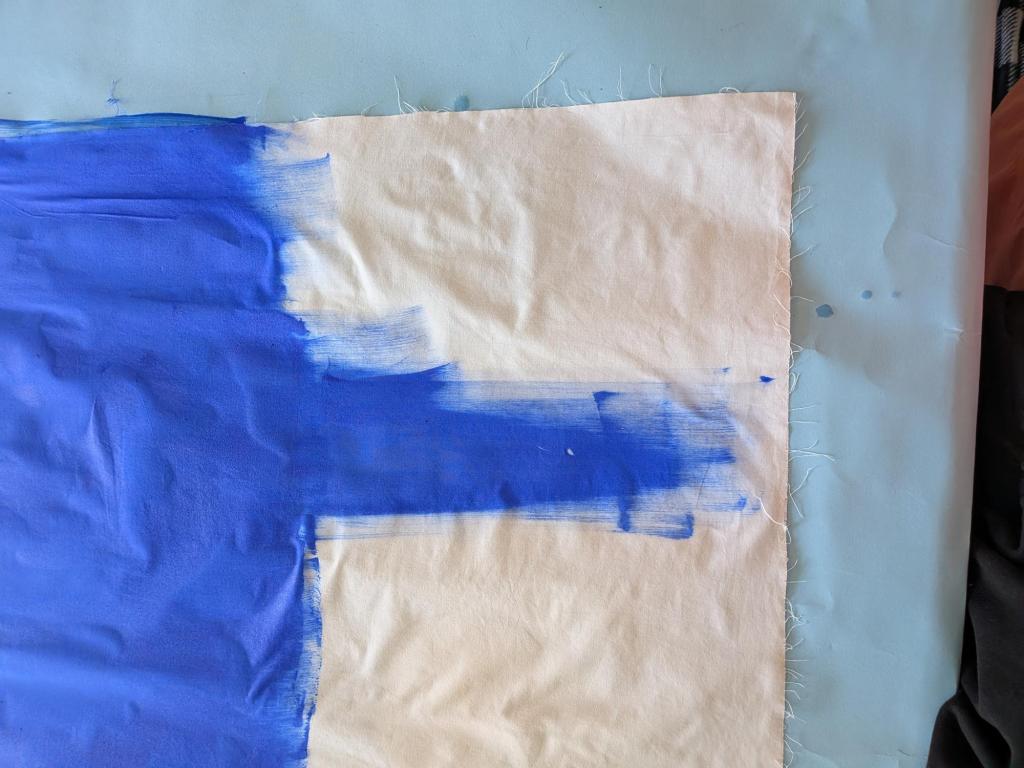
Though this will depend somewhat on the particular design you choose, I recommend beginning with the background, and then painting on the design. It is easier to paint details over a finished background than it is to cut in the background color behind fine designs. However, on the chalice banner that I made, I painted the chalice, first, and cut the background in after. This was easy enough to do, as the chalice had fairly simple edges. I also did this because I hadn’t determined my background color.
Painting a large area background color can use quite a bit of paint. This can be a good time to use a watered-down acrylic if you want to use materials sparingly, but this will also give you an uneven water-color-type background. It’s really a design preference. Otherwise, make sure you purchase enough of the color you are using (or colors you are mixing)! Spritzing the fabric with a water mist can help it to absorb the paint more readily with a little less of the spreading effect.
If you paint on your design really thick, the paint will be more likely to crack or even peel off. You want some flexibility in the fabric, as this is not a normal canvas painting!
Step 6: Let it dry completely, then press.
This isn’t too difficult a step. The paint needs to dry fully. If you used a plastic tablecloth, this may take a little bit longer. I recommend that after you are finished painting, you gently removing the banner from whatever protective covering you used beneath the fabric, and then carefully lay it back down, and make sure it is flat. This will keep the banner from adhering to the protective covering as it dries completely.
Once the banner has finished drying, press it. Pressing will help to heat-set the paint. It is unlikely you would ever need to wash the banner. Spot-treating or a gentle rinse is all that you are ever likely to need to do to it.
Step 7: Trim to size.
Lay completed front and back together, and trim edges so that front and back line up evenly. This will help the banner to lay flat when sewing together, and prevent fraying or gapped seams.
Step 8: Assemble.
This step is actually multiple steps, and how you assemble it is going to be determined by a number of factors. If you plan to use a fusible tape, you will want to press your seams under, and then put your tape on and press the front and back of the banner together.
If sewing so that seams are in the inside, you will want place the front and back right sides together, and sew 3 of the sides together (I recommend sides and bottom, sewn with a 1/2″ allowance) and carefully flip it right side out. If you are not careful, you can rip the fabric during the turning process. This is most likely to be an issue at the corners and the ends of a seam. carefully poke the corners so they are pointed, and then roll the seams flat and press. With the open end, fold the edges inward, and press. Cut four scraps of fabric, ribbon, or an ornate lace to create loops for threading a dowel through to hold the banner up. Loops should be cut to rougly 8″ in length and folded in half. Pin or tack the loops evenly across the top of the banner, and sew in place. A simple top-stitch will work just fine. Add any trim as needed.
For assembly with the seams on the outside, you will want some kind of binding or trim that will cover up the raw edges of the fabric. Simply sew the banner with the wrong sides together, with a 1/4″-1/2″ seam allowance on 3 sides. Pin loops to the top edge, evenly spaced, and sew (depending on the design, you may want to fold the top edge of the banner inward so as not to have an unfinished edge that cannot be covered by a binding. Sew binding or trim over the seams.
Step 9: Assembly of rod and pole for carrying
You can purchase a variety of dowel sizes or use a wooden curtain rod cut to length, or you can use a sanded 1″x2″ board, cut to length. The dowel can be painted, stained, or left plain. The dowel should be cut roughly to the width of the banner, slightly longer, if necessary. If the banner is to be carried low, between two people, the dowel should extend a good 6″ or more beyond the edges of the banner. Finials can be put on the ends for a more decorative look for a banner that will be carried using an upright pole I used a decorative sheet metal, and cut caps for the ends of my dowel. Once the dowel is inserted through the loops of the banner, you can use furniture tacks to hold the loops securely in place. If the dowel is to be lashed to an upright pole, drill a hole through the mid point of the dowel.
A pole for carrying the banner upright can be cut to a suitable length, roughly 6′-8′. About a foot from the top of the pole, drill a hole through the center of the pole. Align the hole in the cross dowel and the upright pole, and use some kind of rope or heavy string to lash the two pieces together. Having the two pieces be able to separate will allow you to store the banner as compactly as possible.
Final Notes: The banners can be gently rolled up to be stored. You can make a sleeve to store the banner in or put it in a plastic bag. If you are especially happy with how your banner turns out, it can make a beautiful piece of artwork for the wall, hung by the rod. If your banner is reversable, be mindful of how you mount the dowel to the upright pole. If the pole and dowel are not permanently attached, the dowel can always be removed and the banner flipped.
If you have questions, please reach out!
In Christ,
Danielle

Leave a comment